A Minute of Thankfulness

If you've been following me for more than a week, you know that it's important to me to remember to be thankful for all of the blessings I've been lucky enough to receive in life.  My take on it is that every thing we have is a blessing, especially the 'simple' things we take for granted (like running water), because somewhere (maybe not even that far away) there is someone who is living without and would love to be in your/our shoes.

I read a touching report this morning that reminded me:


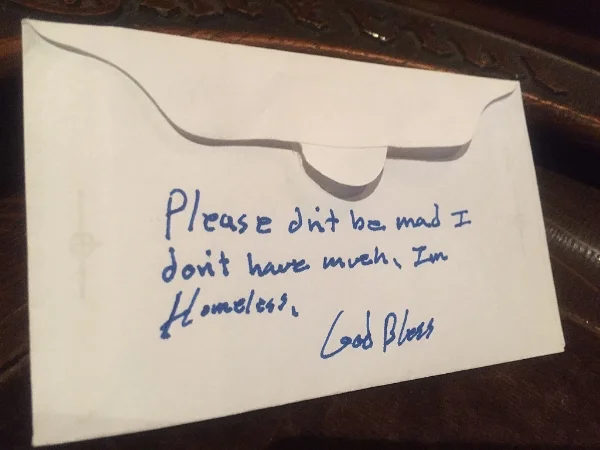
The First United Methodist Church in Charlotte, North Carolina, received a donation in their offering plate with the message: "Please don't be mad. I don't have much. I'm homeless. God Bless."  In the envelopes was $0.18.

Let that impact you as you will.

The article says that the church shared the photo and the community has responded with generous support, but that the writer of the envelope is still anonymous.  I hope the person will come back and receive the assistance.  But I also hope the generosity of the community doesn't stop with the one homeless person who got enough publicity to tug at people's conscious.
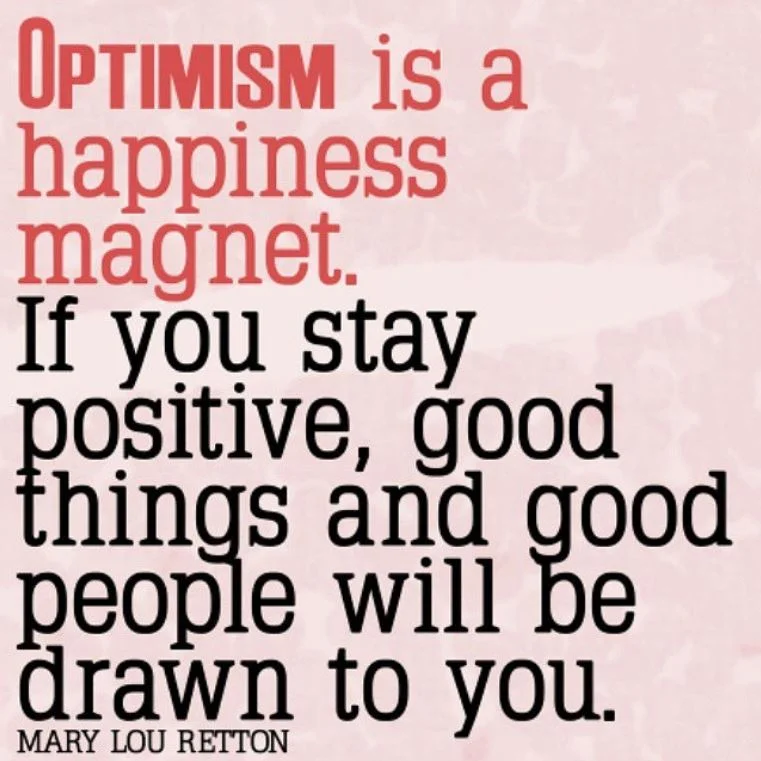
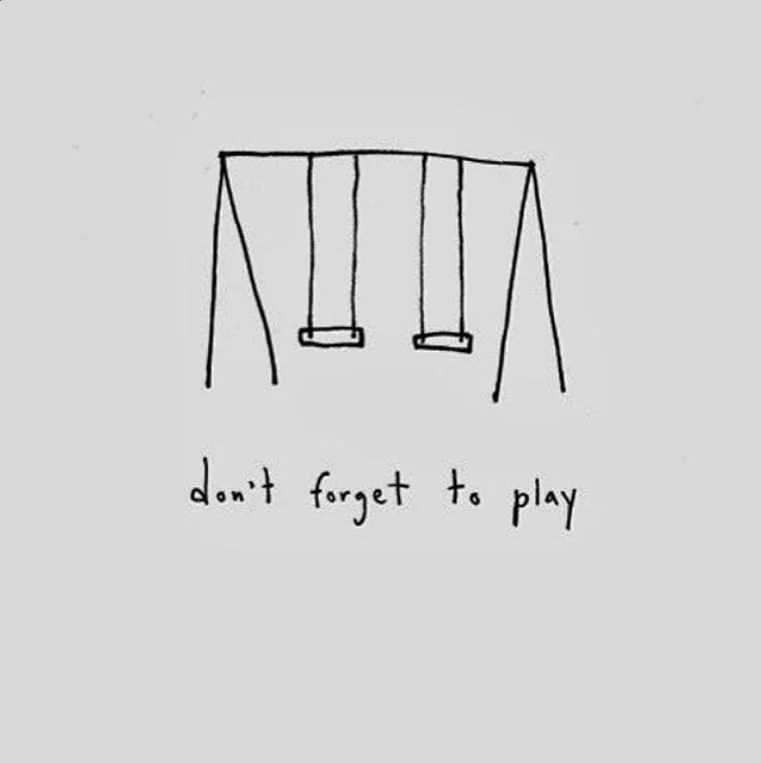
 
It is not happy people who are thankful — it is thankful people who are happy.


Get Ye To Bloglovin'

If you are an avid reader of numerous blogs, you probably already know about Bloglovin'.  If you aren't let me introduce you.  Bloglovin' is a site and an app that consolidates all your favorite blogs into one place, so you don't have to go to each individual page to check the latest updates. Because while there are a lot of cute sites and interesting content out there, lets be real: no one has time to go through them all and visit them all everyday.  With this site/app, you just log in to your Bloglovin' account, and your customized feed will show you the current posts from your favorite bloggers, and you can see everything all in one place.

bloglovin

You can save specific posts as favorites, and Bloglovin' will even make suggestions for you based on your current likes.  You can set your preferences and have them send you an email as frequently as you like with the updates so you don't have to remember to check (or you can glance over quickly to see if anything is of interest that day.)  I use Bloglovin' as a resource daily, I recommend it you too.  

Click the link below to start following me on Bloglovin' or to get set up and started.  Welcome!!

 
Everyday Stilettos
 

Breakfast Treat - Easy Cream Cheese Danish

I have been having a random craving for cream cheese danishes lately.  I've always liked them, but I've never had a specific craving for them like I am as of late (no, I'm not pregnant.)  Something about the tart cream cheese filling with the buttery pastry is just so yummy to my taste buds lately.  And since I feel like since we only live once, we should enjoy it while we can, and I'm happy to indulge my craving.  And I'm extra happy to have learned how easy it is to make these treats at home.

This was my first time making them, and while I learned a few things that I will do better next time, they still came out good.

Easy Cream Cheese Danish

Yield: 8 danishes     Prep time: 30 minutes   Cook time: 20 minutes

Ingredients

  • 2 sheets puff pastry, thawed but still cool
  • 8 oz cream cheese at room temp
  • 1/3 cup sugar
  • 1 tsp vanilla extract
  • 2 eggs, divided yolks from whites
  • 1/4 cup flour, for rolling

Instructions

1.  The night before: take puff pastry from freezer and let defrost in fridge overnight.

2.  Line a baking sheet with parchment paper.  Set aside.

3.  In a medium bowl, place room temperature cream cheese and sugar.  Using a spatula, cream together until smooth.  Add vanilla and 2 egg yolks and stir until just combined.

4.  On a floured surface, unfold one sheet of puff pastry.  With a floured rolling pin, slightly roll it until it is 10x10-inches.  Repeat with second puff pastry sheet.  [My note on this:  Adjust this instruction according to your situation.  You can see from the pictures that this instruction did not apply to me.  My puff pastry came in one big, rectangular sheet, and while I rolled it, I realized afterwards I didn't need to, because it was big enough to get 8 pastries out of (see next step). ]

5.  Cut each puff pastry sheet into 4 equal squares.  Spook a heaping tablespoon of cream cheese filling into the center of each square.

6.  Brush all 4 edges of each pastry with an egg white wash (2 egg whites beaten with 1 tablespoon water.) Fold each corner in to be slightly touching the filling.  Carefully transfer each pastry to the lined baking sheet.

7.  Refrigerate for 15 minutes.  Meanwhile, preheat the oven to 400 degrees.

8.  Bake for 20 minutes until golden brown, rotating pan once halfway through.  Let cool. Enjoy.


Some additional notes:

  • If you're going to roll the puff pastry, be sure you use enough flour on the counter so it doesn't stick.  I didn't do this well, and I had a terrible time lifting them on to the baking sheet.
  • Try to work quickly once the puff pastry is out of the fridge.  The colder it is, the easier it is to work with.
  • As you can see, your pastries do not need to be squares.  You can customize.
  • When they come out the oven they will be huge, very puffed up.  They will flatten once they cool.
 
cream cheese danish.JPG
 

15 Minute Vanity Stool Make- over

We all like to have nice things. But there is an extra sense of satisfaction you get when you have something nice that you put labor into. It doesn't even take a lot of work to transform something from blah to ahhh.

I recently rearranged furniture in my living room and bedroom to make more room in the former and add a vanity to the later.  While I already had the shelf/desk that I used for the vanity (moved from the living room), I didn't have proper seating for it in the bedroom (the chair for it when it was a desk remained in the living room.)  So I was using this small wooden stool I had from my college years when I was taking painting classes.  It was fine in terms of height, but I wanted a something a little more attractive and feminine for the space.  But I didn't want to spend a lot of $$, so I'd been keeping my eye out for something to replace it.

I don't usually do this (but I think it's because I don't usually stumble upon anything worth it) but this weekend when out walking our dog with my son, we came across some unwanted items some neighbors had left out on the street curb.  Including a vanity stool.  In perfectly fine condition, just ugly.  So I snagged it.  Took it upstairs and gave it a quick face lift, and I'm very happy with the results.

Changing the fabric on a cushion is one of the easiest ways to transform and customize a furniture item.   All you need is:

  • enough fabric of choice to cover the entire surface with at least 3 inches excess all the way around (more if your cushion is deep/thick)
  • a staple gun
  • a screwdriver (to remove the cushion from the base/legs)
  • scissors
  • possibly some batting (see 4 below)

** A quick note on the fabric:  fabric bought by the yard can get expensive.  Sometimes it helps to get creative with your sources.  The fabric I used here is actually a shower curtain (not the plastic coated kind, the outer décor curtain).  Found it at Marshalls for like $8, which gave me several square yards of fabric.  I had previously re-covered my dining room chair cushions with this fabric, and had left-overs.  It's great because its relatively heavy duty but still soft.  I'm thinking of using the rest to make some outdoor pillow covers. **

Back to the recovering  (it looks like a lot of steps, but it's really simple. I'm just spelling it out very basic here):

1.   Flip the stool over and remove the screws (or whatever is holding the seat to the base).

2.  Spread your fabric out flat and lay the now-removed seat on it, 3-4 inches from any fabric edge,  then cut out the piece you need, leaving 3-4 inches of fabric all the way around.  **Your cutting does not have to be neat or perfect.  Nor does it have to be the same shape as your seat (my seat is round and I cut a square, but just because of the shape of the fabric I had left over.)

3.  Iron your fabric if it needs it.  Mine had creases in it from being folded, I didn't want them evident once it was on the stool.

4.  (Not applicable in all situations.) If you're recovering a surface that has very dark fabric with light fabric, you may either need to remove the old layer or put a layer of batting between the old surface and the new.  I didn't need to do this as my old layer was a light color, and my new fabric was thick enough not to show through.

5.  Again, lay your fabric out, print side down, and put the stool top down, top down, and eyeball it center in your fabric.

6.  Pick and edge and staple.

Note in this photo I have a lot of extra fabric on one side and barely any on the other.  Yours should NOT look like this.  I was working with the top edge of the shower curtain that had holes for the curtain rings, and I wanted to be able…

Note in this photo I have a lot of extra fabric on one side and barely any on the other.  Yours should NOT look like this.  I was working with the top edge of the shower curtain that had holes for the curtain rings, and I wanted to be able to cut that all off at the end, so its uneven in this photo.

7.  For a round seat, like mine here, you're going to want to work back and forth, like taking the lug nuts off a tire (you know how to change your own car tire, right?  Come on, ladies, this is 2015.)  Pull snug, and staple directly across from the first staple.  (12 o'clock and 6 o'clock.)

8.  You want to get the first four "sides" stapled, so move to one of the unstapled sides and staple, then again go to the opposite side, pull taught, and staple.  (3 o'clock and 9 o'clock).

9.   Repeat this back and forth one more time, starting half-way between 12 and 3, then to half-way between 6 and 9, you get it....pull taught before each staple.

10.  From there you can start working your way around, a staple every inch to 2-inches.  You'll have to sort of fold the fabric to help it lay around the circle shape (see below.)  **Note: if you put a staple in and the fabric isn't laying right, you can ply the staple out with a flat screwdriver and/or needle-nose pliers and re-do.

11.  Once you get all the way around and your satisfied, you can trim the excess off.  Don't trim too close to the staples, leave about an inch of fabric.

12.  Put the base back on, flip it over, and viola!

IMG_6955.JPG

Friday Favorites - IG Accounts

friday favorites instagram

I've been spending a bit more time on Instagram lately, as I've been trying to keep my account tied to my blog active an interesting.  This has led me to stumble upon some great accounts that have been fun to follow.  They aren't the most popular with tens of thousands of followers, so unless you get lucky and stumble upon them like I did, you may never know they exist.  Which is why I'm sharing here. :)
 

Nature

Eric Rubens  IG: erubes1

Eric is an amazing photographer (and his website says he's only 20-something.)  I had to basically go Eenie-meenie-minee-mo to chose which pics to share here, because they're all just so awesome.


Ed Sternink  IG: edsternink

Ed's IG account says he's an Art Director, and his good eye is evident.  His takes a mix of urban images and nature images.  His pictures capture things you would likely overlook in your everyday, and gives you a chance to stop and appreciate.


Interior Decor
 

Interior Obsessed  IG: interior.obsessed

I am always on the lookout for interior décor inspiration.  This account is daily inspiration for a design/organization company devoted to the greater Bellingham-Seattle, WA area.  I like their taste.


IN House Idea  IG: inhouseidea

An eclectic collection of decorating ideas.


Quotes & Inspiration

IG: onecrazyc00kie

I don't know anything about the creator of this site, but I do like their message: Be the change you wish to see in the world.  This account shares inspiring/motivating quote images from around the web.


Kara Oropallo  IG:

Kara's profile says she is a: Producer, feminist, wino, and mother spreading bits of positivity, hilarity, and reality from the heart of LA.  She shares positive messages along with the occasional baby pic of her new son.


I hope you find some/all of these as enjoyable as I do.  And I hope you have a happy Friday and a wonderful weekend.