Breakfast Eureka - Plenti: Packed Full of Goodness

Disclaimer: Sponsored Post. Click here; see below.

I'm terrible about eating breakfast. They say it's the most important meal of the day, and on a leisurely day I do like to eat breakfast. I love breakfast foods, but on a regular morning, feeding myself is the last of my priorities. In fact, after getting myself up and dressed, the kid up and dressed, his meals for the day packed, the dog walked, our bags packed and everything into the car, usually breakfast doesn't even make it ON the morning priority list. After taking care of everyone and everything else, I neglect to take care of me. And I know I'm not the only mom to do so.


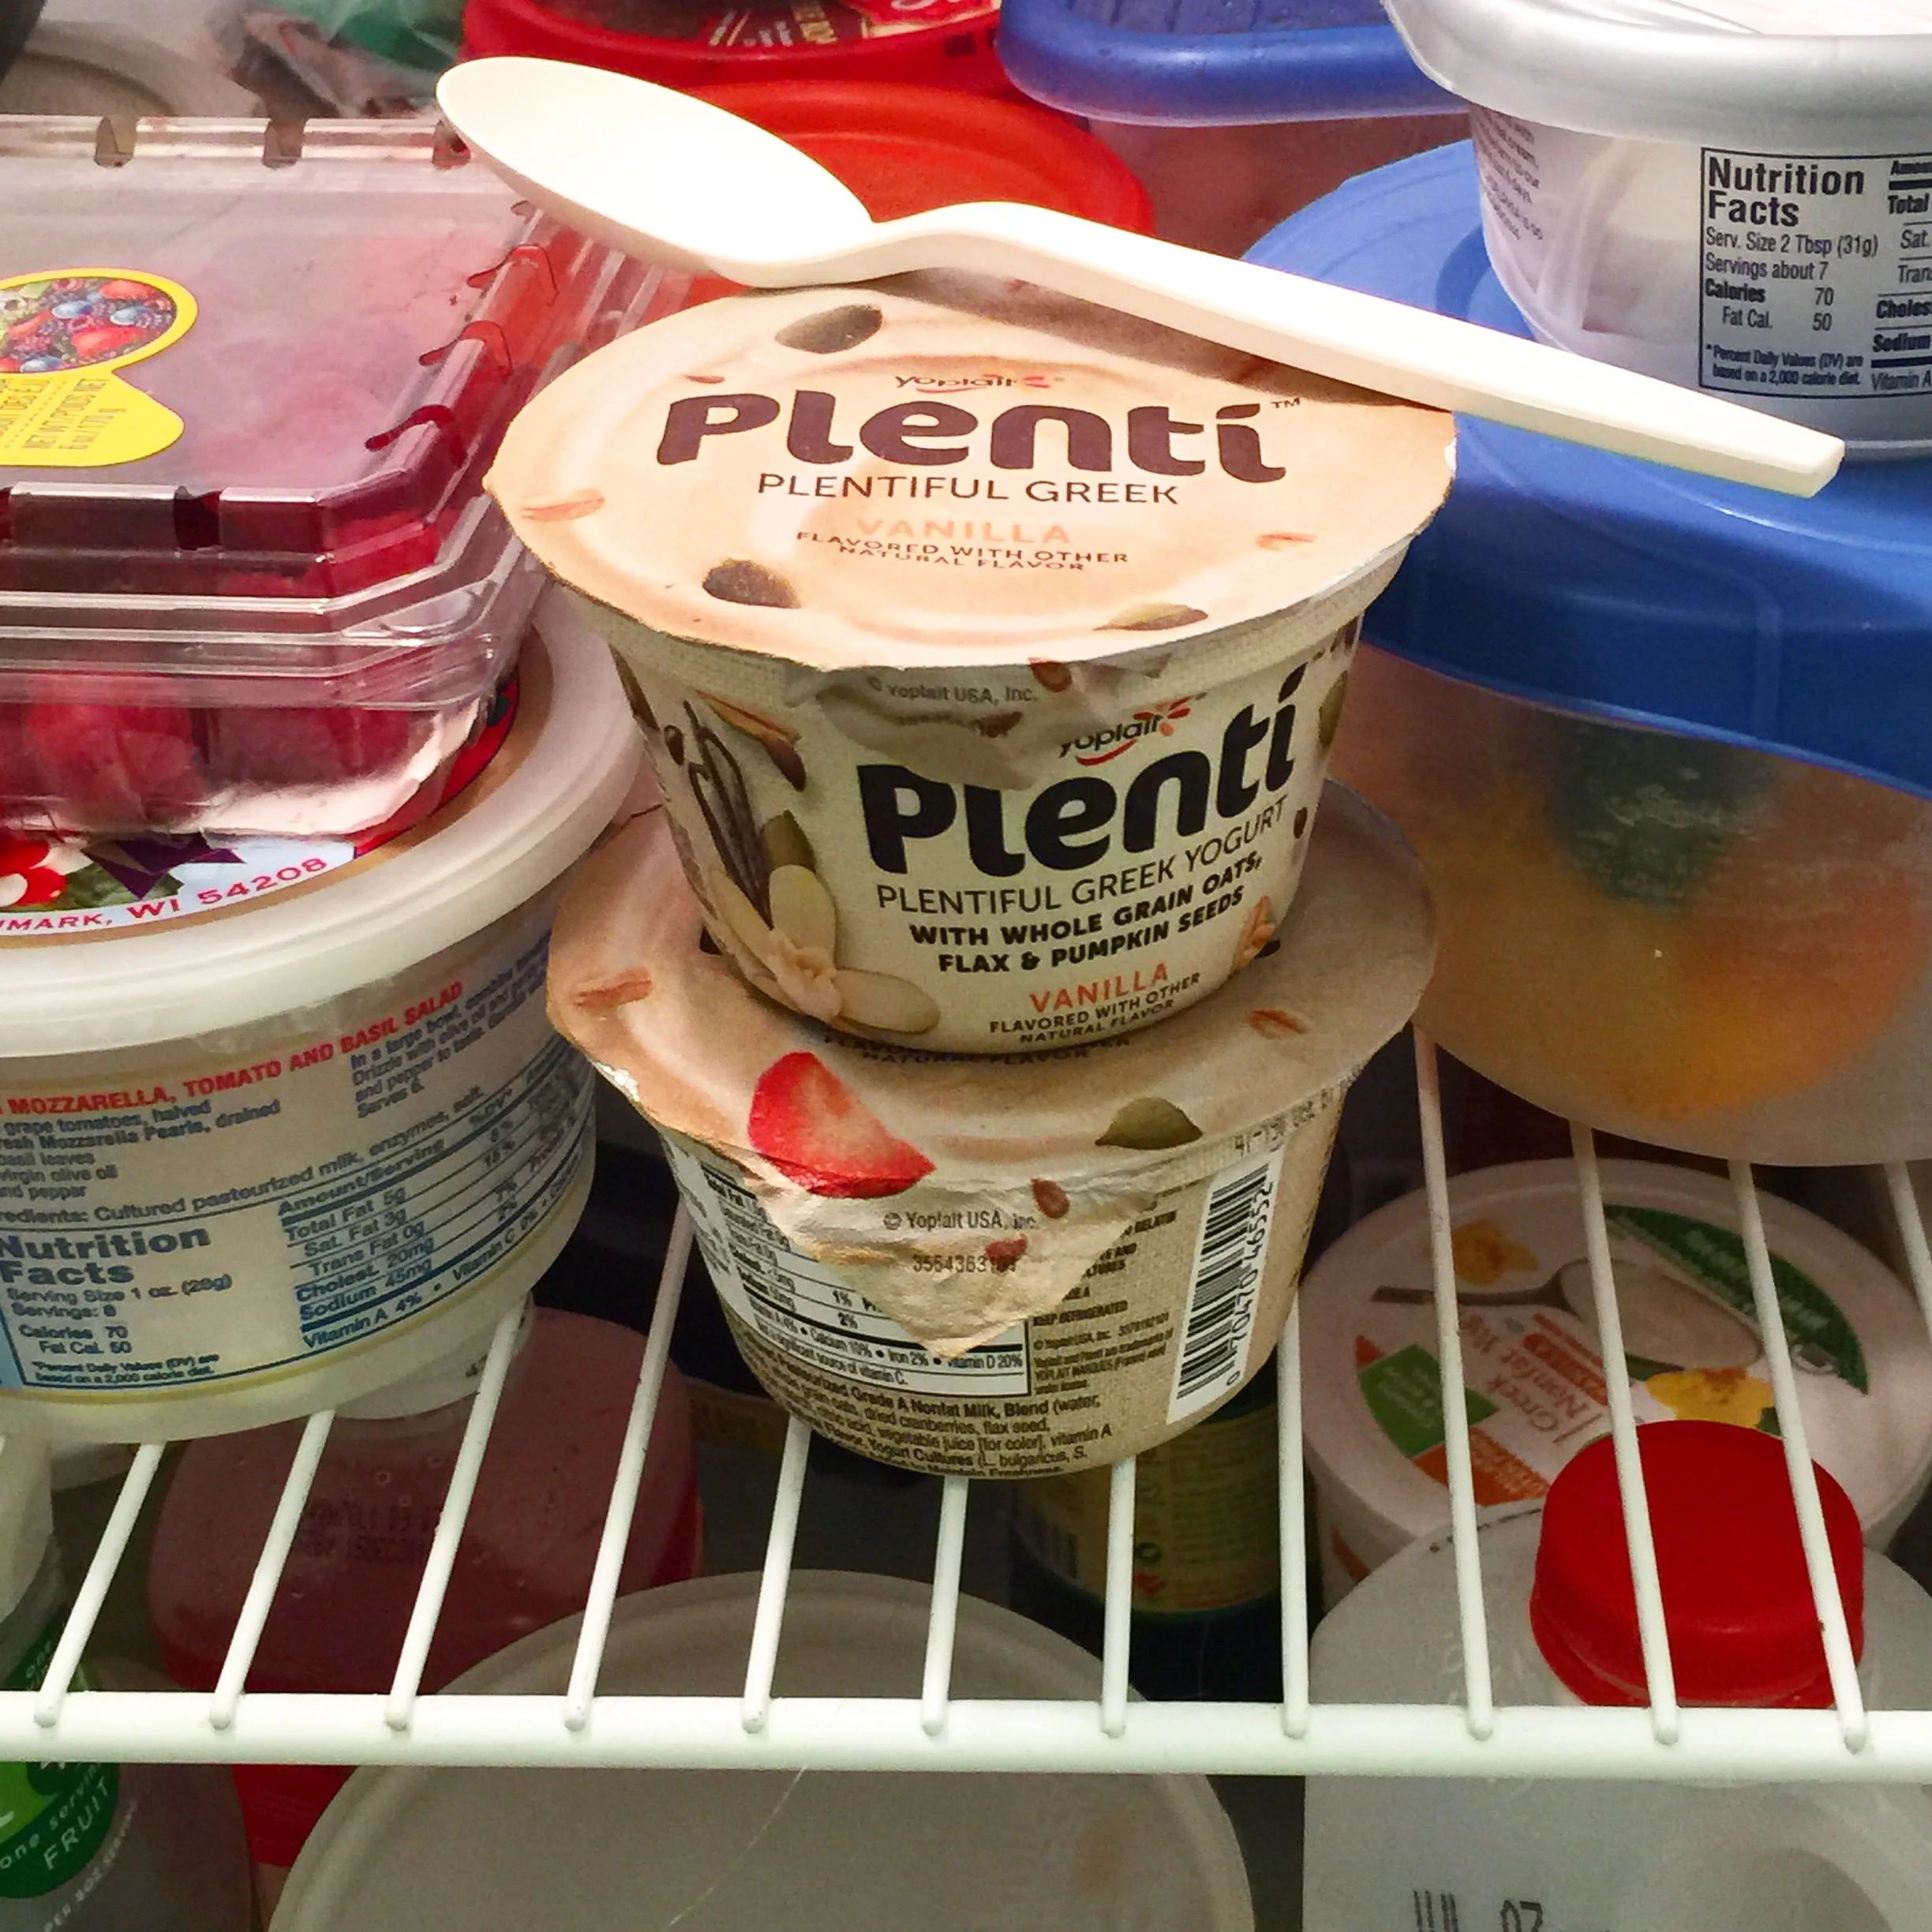
I need something full and healthy that I can grab and go. I don't have the mental energy to spend time on my own food. That's why this new hearty Greek yogurt from Yoplait is so great. Plenti yogurt cups come in 8 different flavors (a variety of fruits, and vanilla, my personal fave), and in addition to their smooth flavor and texture are loaded with oats, flax seeds and pumpkin seeds. Greek yogurts can tend to be on the tart side, which usually means I have to take a minute to doctor it up with honey or something, but these are just the right amount of sweet that they need nothing extra.  Just grab and go.


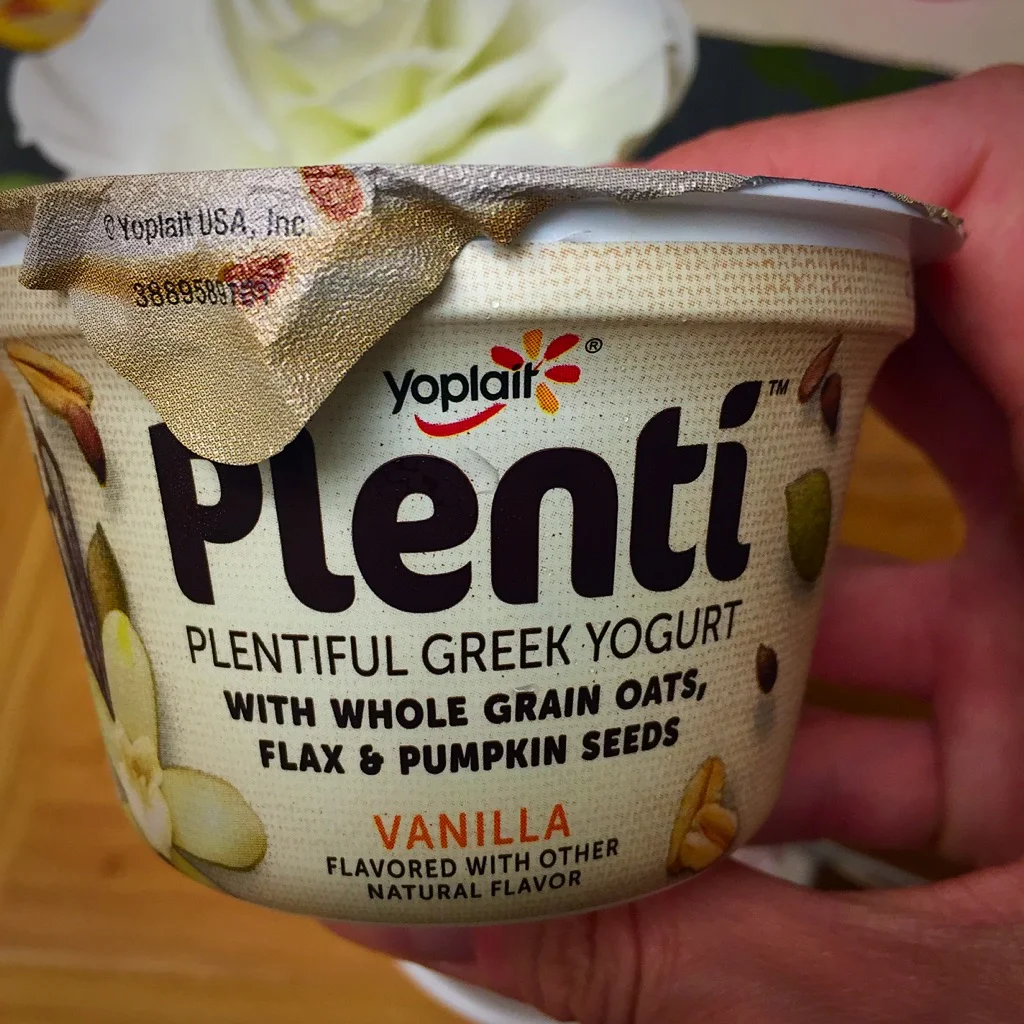
The addition of the oats, flax and pumpkin seeds add extra texture to the yogurt, but I'm good with that.  Pumpkin seeds have great nutritional benefits (magnesium, zinc, anti-oxidants, to name a few), and flax seeds are high in protein and fiber to help keep you full.  


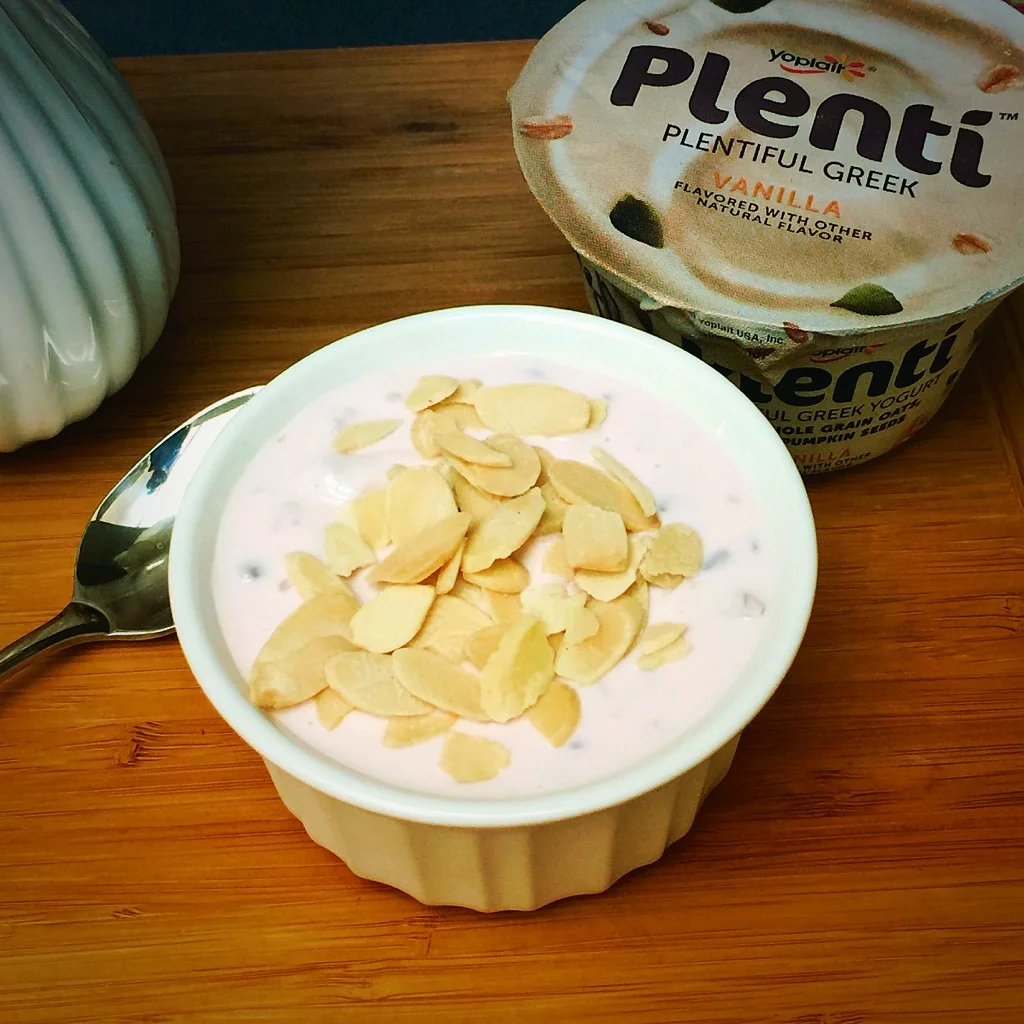
I actually like even more crunch, so I do keep some sliced almonds on hand and add a topping. I actually don't need much more than this for a filling breakfast, and I feel good about myself for remembering to eat and for actually eating something good for me. 


This little cup has simplified my mornings - eureka! - and gives me energy to start my day.  If you're like me, you'll be so happy with this find!  Let me know what you think!


Color = Flavor Turkey Patties

Another easy and flavorful dinner meal achieved last night.  Satisfied my husband's need for meat/protein, my desire for fresh veggies/salad, and my 19 month old chowed down without much coaxing. What more can one ask for?

The most time-consuming part is the veggie chopping/patty assembly.  The patties cook quickly (we used our Foreman grill, 5-6 minutes.)  We had frozen sweet potato tots as our side, and those required the oven.  So with the oven preheat and the tots' cook time, we could prepare and cook the patties and everything was done about the same time (30-40 min).

Naked Greek Feta-Zucchini Turkey Burgers

Originally found on Skinnytaste.com
Servings: 5 • Serving Size: 1 burger plus salad
Calories: 221 • Fat: 11 • Carbs: 10 g • Fiber: 2 • Protein: 20 g • Sugar: 1 g
Sodium: 445 mg • Cholesterol: 73 mg


Ingredients

For the Patty:

·         5 oz grated zucchini (when squeezed 4 oz)
·         1 lb 93% lean ground turkey
·         1/4 cup seasoned whole wheat breadcrumbs
·         1 clove garlic, crushed
·         2 tbsp grated red onion
·         1 tbsp fresh oregano
·         3/4 tsp kosher salt and fresh pepper
·         1/4 cup crumbled feta cheese
·         oil spray

For the salad:

·         1 cucumber, diced
·         3/4 cup quartered grape tomatoes
·         2 tbsp chopped red onion
·         1/3 cup kalamata olives
·         1/4 cup roasted peppers
·         2 tsp red wine vinegar
·         1 tsp olive oil
·         kosher salt
·         1 tbsp crumbled feta

Instructions:

Squeeze ALL the moisture from the zucchini with paper towels. In a large bowl, combine ground turkey, zucchini, breadcrumbs, garlic, onion, oregano, salt and pepper. Mix well, add 1/4 cup of feta, mix and make 5 equal patties, not too thick so they cook in the center. Refrigerate until ready to cook.


In a medium bowl combine all the salad ingredients. Mix well.


To cook indoors: Heat a large nonstick skillet on high heat. When hot, lightly spray oil. Add burgers to the pan and reduce the heat to low. Cook on one side until browned, then flip. Flip over a few times to prevent burning and to make sure the burgers are cooked all the way through.

If grilling: Clean grill well before cooking and oil the grates generously to prevent sticking. Cook the burgers on medium heat about 5 minutes on each side, or until no longer pink in the center.

 
Enjoy!! 

Enjoy!!


Click here for a print-friendly recipe document.
 

Chicken + Spinach + Feta = Easy Yum

I had great success with a dish last night that was too simple and tasty not to share.  It was quick, healthy and full of flavor with minimal ingredients.  My kind of recipe.  If you like feta and chicken, you will like this and have to try.

Total time (had I not been repeatedly interrupted by a toddler) about 30 min
Makes 4 servings

Spinach and Feta Stuffed Chicken

Ingredients:
3/4 cup crumbled feta
1/2 cup thawed frozen chopped spinach, squeezed dry (I had to cook mine as it was frozen, so that added a little time, versus if you had it pre-defrosted. But I think it being warm made step 2 below better.)
3 tablespoons cream cheese
1/4 cup chopped scallions (I didn't have scallions, so I used finely chopped white onion, about 2 Tbsp. Worked well.)
2 cloves garlic, minced
3 tablespoons extra virgin olive oil (EVOO)
salt and pepper to taste (or whatever you like to season chicken breasts with)
4 6-oz boneless, skinless chicken breasts

Instructions:

  1. Preheat oven to 450.
  2. In a bowl, mix the first 5 ingredients.
  3. Cut a lengthwise pocket into each breast; season each pocket and stuff with spinach mixture.
  4. In oven-proof skillet, heat EVOO over medium-high heat and cook chicken until golden, about 4 minutes per side.
  5. Transfer to oven and bake 5-7 minutes.
  6. Enjoy!

We ate with a side of sautéed green beans with bacon, but I think it lends itself well to a variety of veggies and/or sides.  What's your favorite side dish?


Have to Try: Home Brewed Iced Coffee

I know many of you can't imagine starting your day without a hot cup of coffee.  I get it, but I'm not one of those people.  I'm not a morning person, by any means, but I've just never lived with a coffee maker and developed the habit.  That is not to be interpreted as I am not a coffee drinker.  I just don't have the means for it at home. So I usually get it from a shop or at work.  Plus, now that I have a toddler to chase around in the mornings while trying to get us out of the house, having a hot drink on hand is not ideal.


But I do love iced coffee.  I usually prefer a cold drink by the time I can actually sit and have a drink (after the toddler-wrangling), and it's a bit easier to transport in a spill-proof container.  I have learned the steps to properly home-brew my own cold coffee, and is the easiest thing ever.  I shake my head at myself for ever forking over the $4 per beverage to Starbucks. You don't need any fancy equipment, just a pitcher and strainer/filter.

The Thing To Know: Iced coffee is not simply hot brewed coffee over ice. I mean, you can do that, but its not the method to get the best tasting result.  Hot-brewing raises the acidity level which brings out the highs and lows of the flavor, but doesn't translate over well once cooled and diluted with ice.  Cold-brewing has a lower acid level, so you have a smoother-tasting coffee.

This takes a few minutes to prepare, but needs to steep for half a day.  But you can make a batch on the weekend that will make enough to get you through the week, because it will keep.

What you need:

  • A pitcher
  • a spare container, bowl or pitcher
  • A coffee filter & fine mesh strainer
  • 4 1/2 oz coarsely ground coffee
  • 3 1/2 cup cold water
  • Extras: milk/creamer, sweetener, ice

What to do:

  1. Place the coffee grounds in pitcher, add the water, stir to combine, cover with plastic wrap and let steep at room temperature for at least 12 hours and up to one day.
  2. Line the fine-mesh strainer with the coffee filter and fit it over the spare bowl/pitcher.  In batches, slowly pour the coffee into the filter until all of the liquid has passed through the strainer.  Discard the grounds & filter.
  3. If your coffee is now in a bowl, transfer back into the original pitcher AFTER you wash it clean.  If you used a spare pitcher, you can leave it there.  Cover pitcher and refrigerate until completely chilled, at least 2 hours or up to 5 days.

How to Serve:

  • The coffee you have made is very concentrated.  For each cup of iced coffee, dilute the concentrate with milk or water to your liking, and doctor as you like.
  • Pour over ice.
  • To get a coffee shop take on it, sweeten with simple syrup (recipe here.)
  • Enjoy!


Breakfast Treat - Easy Cream Cheese Danish

I have been having a random craving for cream cheese danishes lately.  I've always liked them, but I've never had a specific craving for them like I am as of late (no, I'm not pregnant.)  Something about the tart cream cheese filling with the buttery pastry is just so yummy to my taste buds lately.  And since I feel like since we only live once, we should enjoy it while we can, and I'm happy to indulge my craving.  And I'm extra happy to have learned how easy it is to make these treats at home.

This was my first time making them, and while I learned a few things that I will do better next time, they still came out good.

Easy Cream Cheese Danish

Yield: 8 danishes     Prep time: 30 minutes   Cook time: 20 minutes

Ingredients

  • 2 sheets puff pastry, thawed but still cool
  • 8 oz cream cheese at room temp
  • 1/3 cup sugar
  • 1 tsp vanilla extract
  • 2 eggs, divided yolks from whites
  • 1/4 cup flour, for rolling

Instructions

1.  The night before: take puff pastry from freezer and let defrost in fridge overnight.

2.  Line a baking sheet with parchment paper.  Set aside.

3.  In a medium bowl, place room temperature cream cheese and sugar.  Using a spatula, cream together until smooth.  Add vanilla and 2 egg yolks and stir until just combined.

4.  On a floured surface, unfold one sheet of puff pastry.  With a floured rolling pin, slightly roll it until it is 10x10-inches.  Repeat with second puff pastry sheet.  [My note on this:  Adjust this instruction according to your situation.  You can see from the pictures that this instruction did not apply to me.  My puff pastry came in one big, rectangular sheet, and while I rolled it, I realized afterwards I didn't need to, because it was big enough to get 8 pastries out of (see next step). ]

5.  Cut each puff pastry sheet into 4 equal squares.  Spook a heaping tablespoon of cream cheese filling into the center of each square.

6.  Brush all 4 edges of each pastry with an egg white wash (2 egg whites beaten with 1 tablespoon water.) Fold each corner in to be slightly touching the filling.  Carefully transfer each pastry to the lined baking sheet.

7.  Refrigerate for 15 minutes.  Meanwhile, preheat the oven to 400 degrees.

8.  Bake for 20 minutes until golden brown, rotating pan once halfway through.  Let cool. Enjoy.


Some additional notes:

  • If you're going to roll the puff pastry, be sure you use enough flour on the counter so it doesn't stick.  I didn't do this well, and I had a terrible time lifting them on to the baking sheet.
  • Try to work quickly once the puff pastry is out of the fridge.  The colder it is, the easier it is to work with.
  • As you can see, your pastries do not need to be squares.  You can customize.
  • When they come out the oven they will be huge, very puffed up.  They will flatten once they cool.
 
cream cheese danish.JPG